-
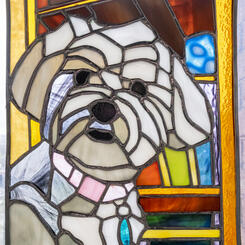
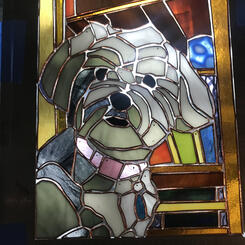
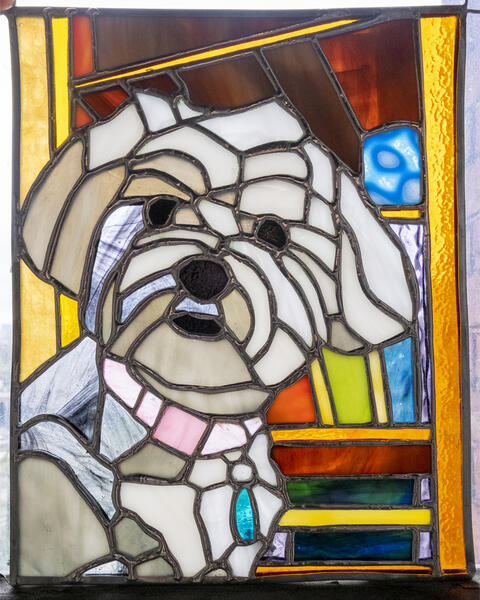 Completed pieceHere we see the finished piece as it is meant to be displayed, with natural light coming through and bringing out all of the subtle variations and patterns in the glass, which is what makes the medium so magical to me in the first place!
 -
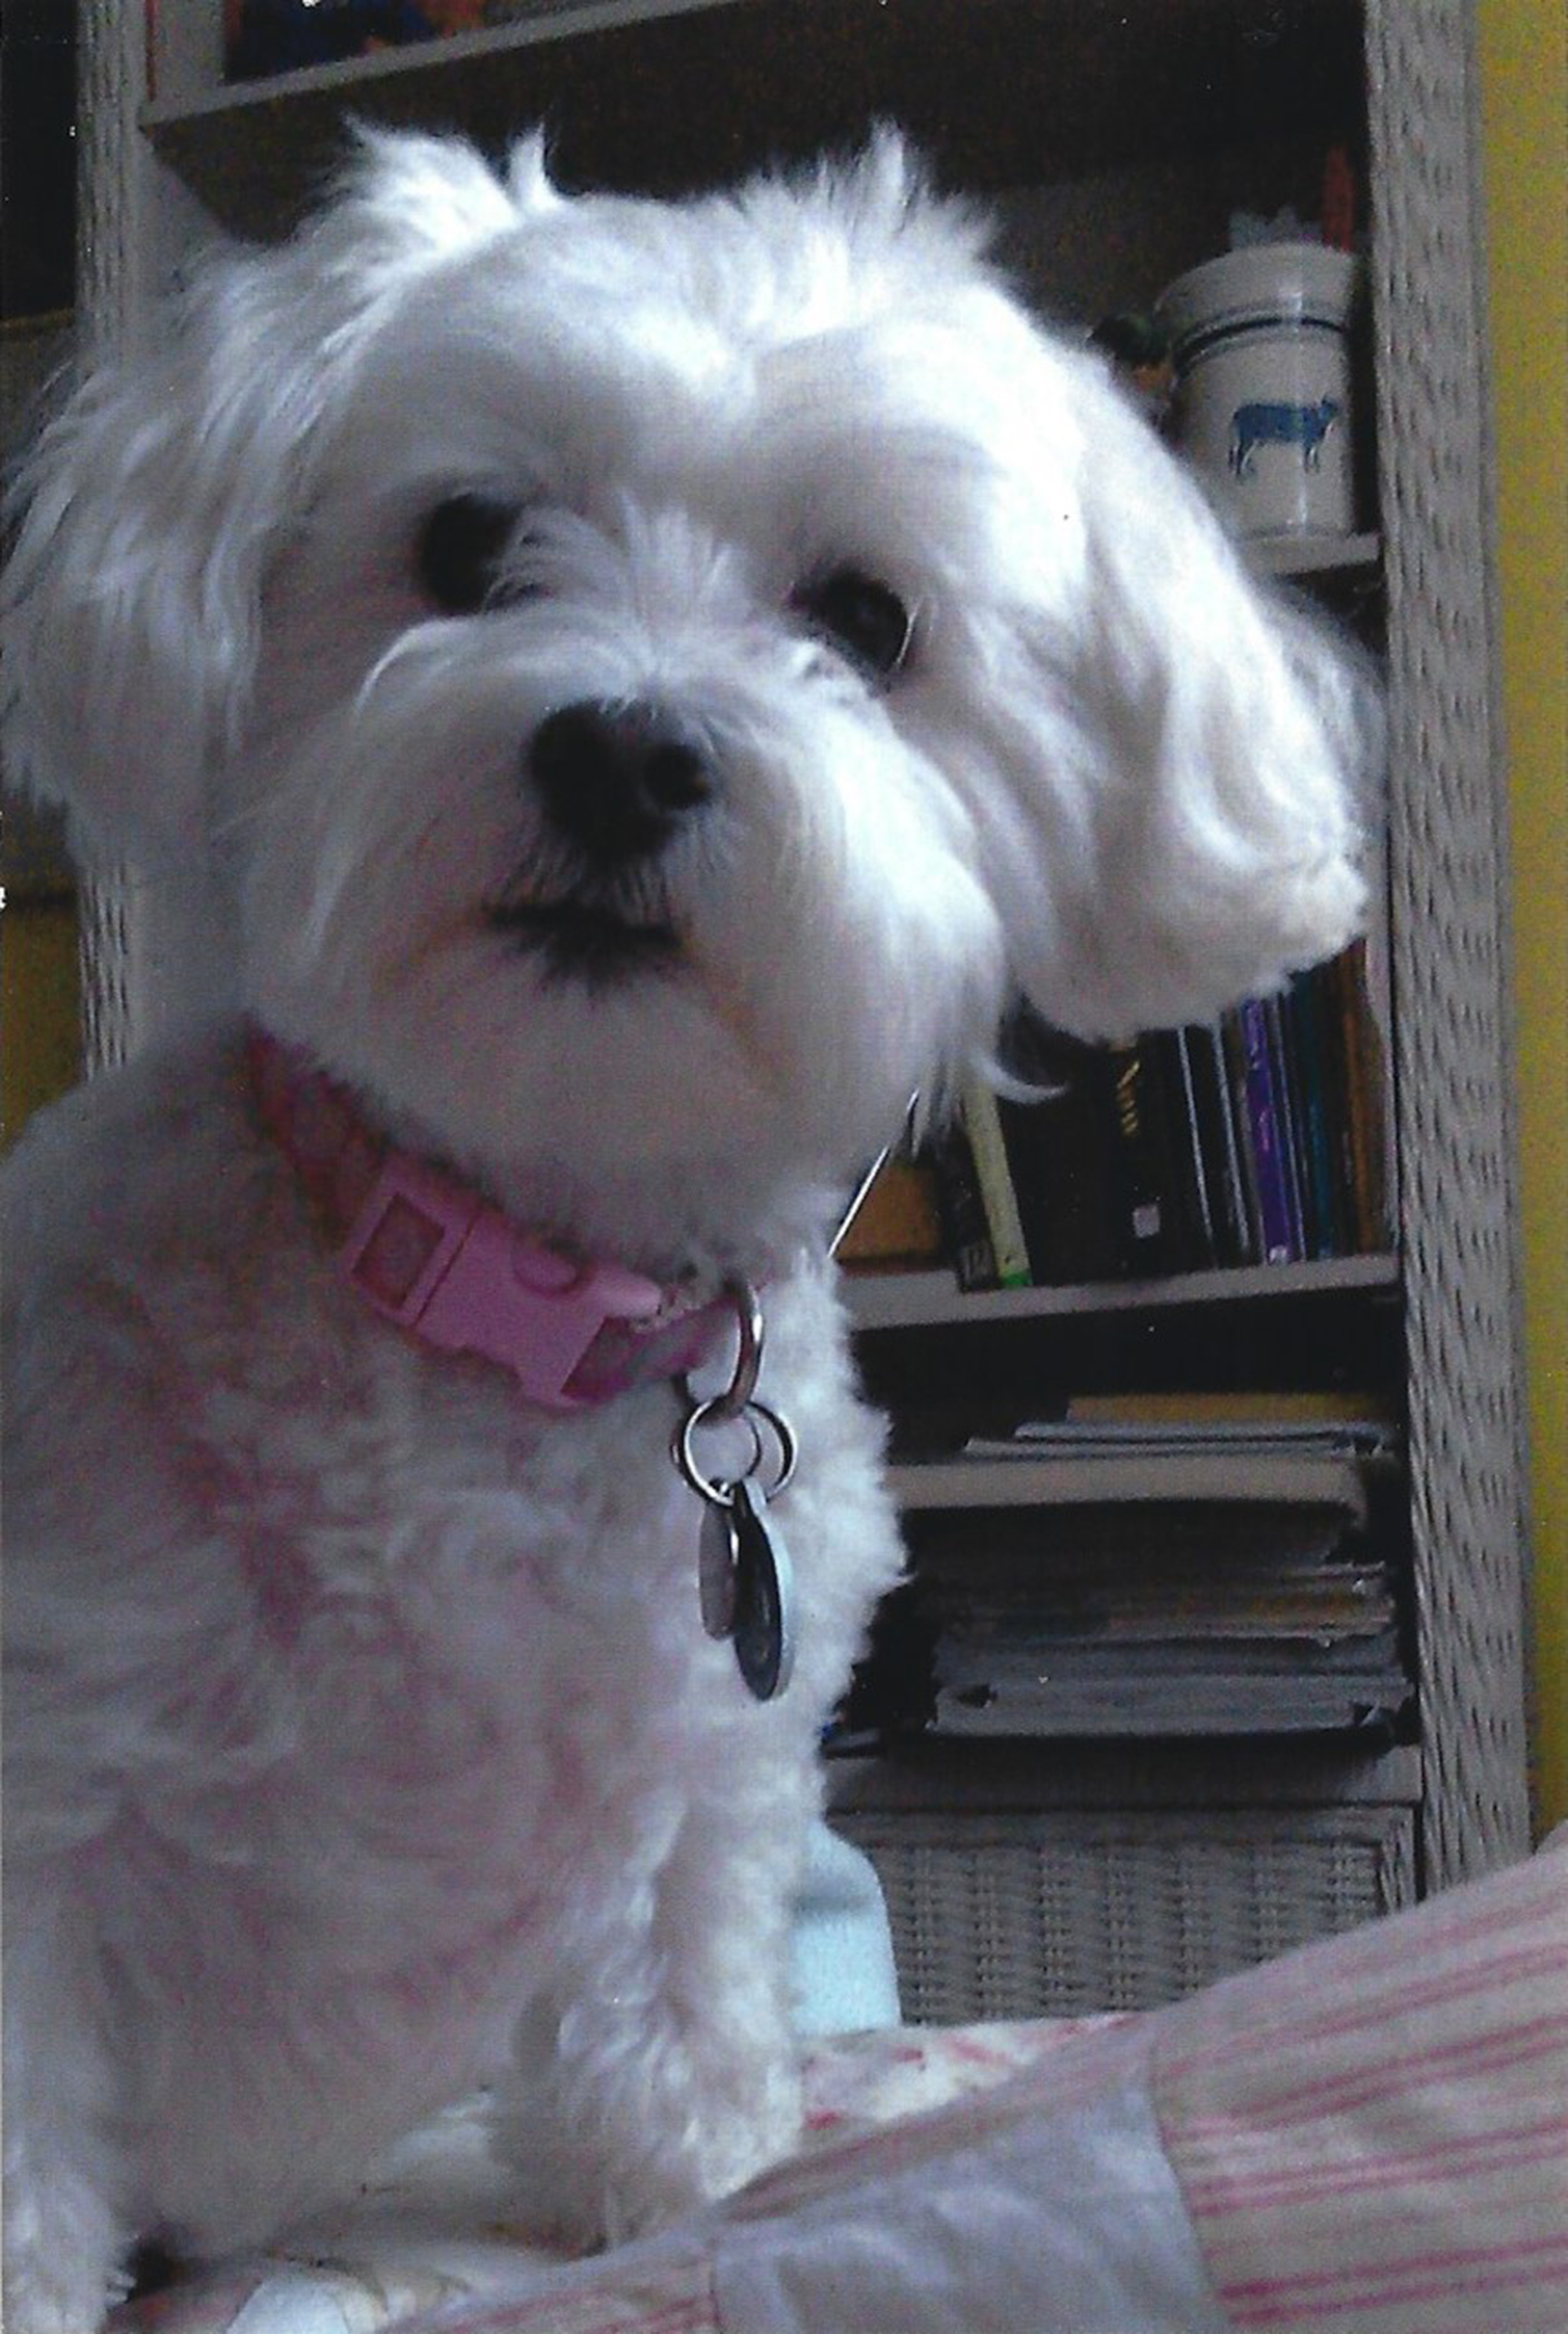
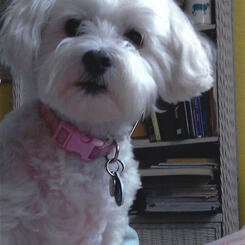
 Reference PhotoThe reference photo I was sent wasn’t the highest resolution to begin with, so first I had to make a few adjustments in Photoshop to upscale it and bring out some of the contrast.
 -
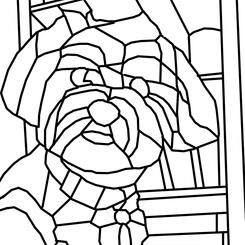
 Cut LinesThe photo is then cropped using the Rule of Thirds so that the eyes fall roughly 1/3 from the top and outside edges of the frame. To do this within the proportions of 8x10”, I had to extrapolate some of the background image and a sliver of the dog’s right side while tracing the contrast points.
 -
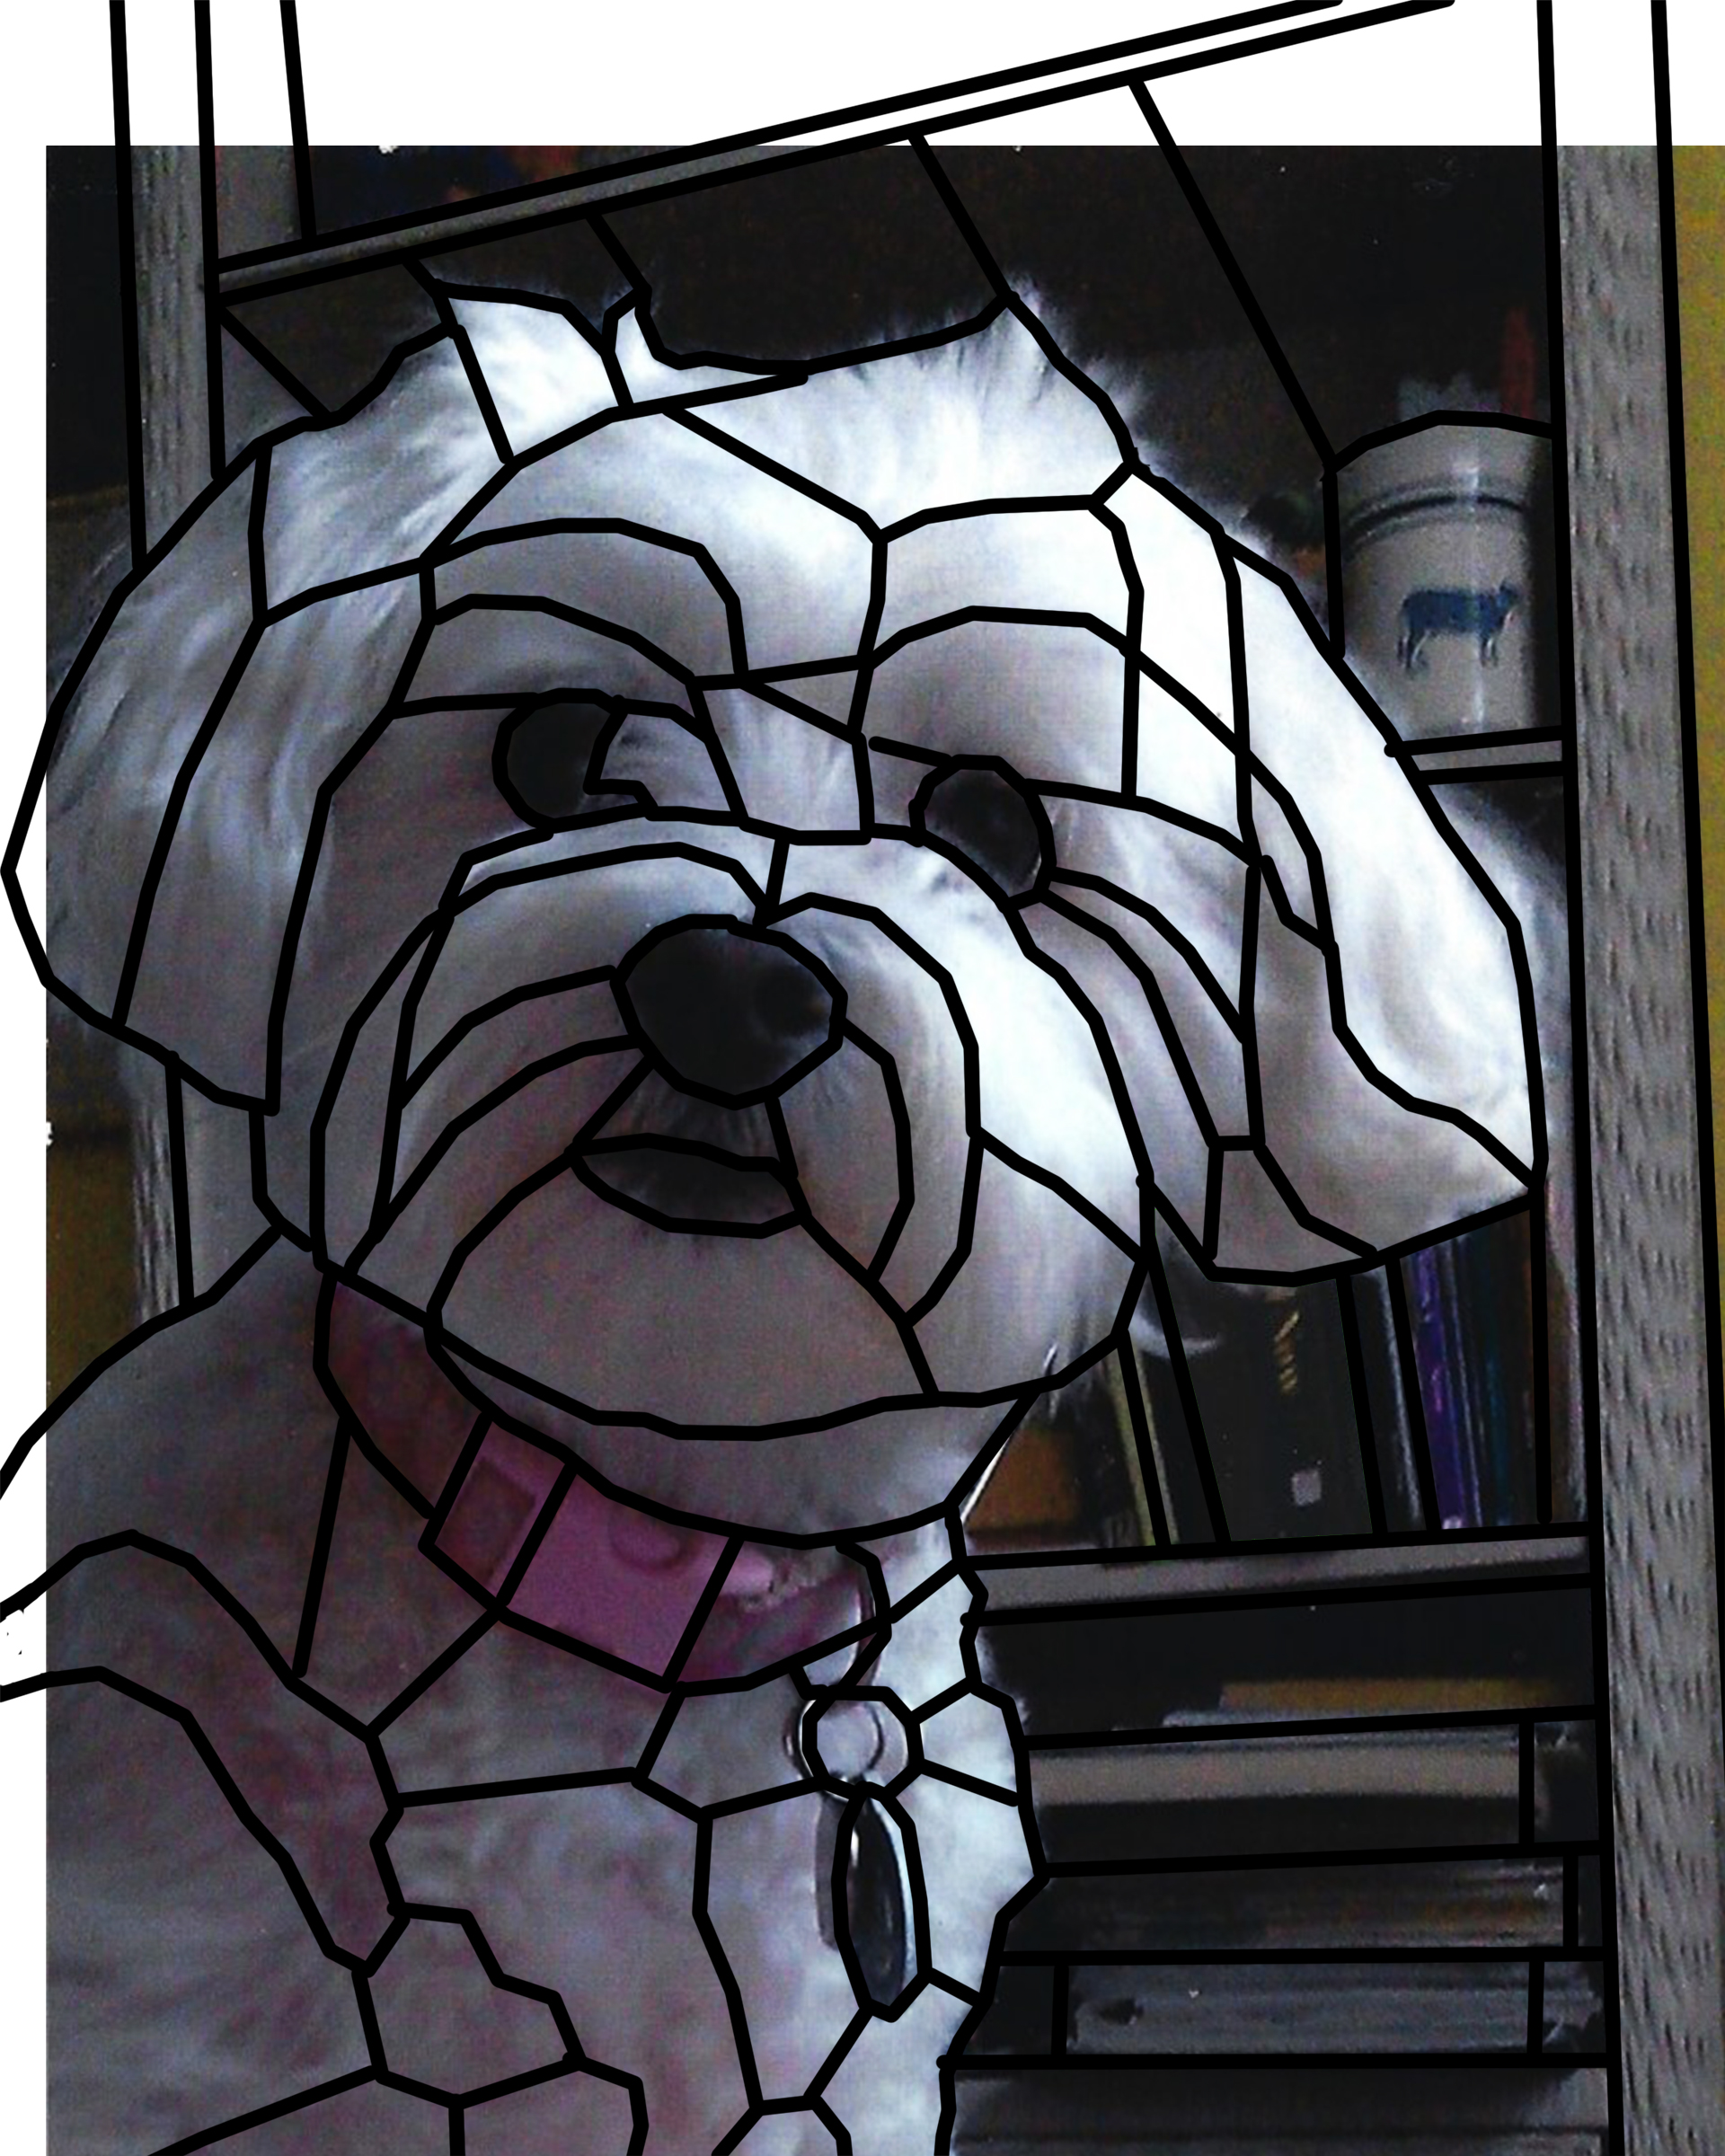
 TemplateThe line drawing template that I create is a little more jagged looking than the contact paper one I trace from it because of how I trace the image in Photoshop, but these lines are then smoothed out when tracing them in marker by hand onto the contact paper.
 -
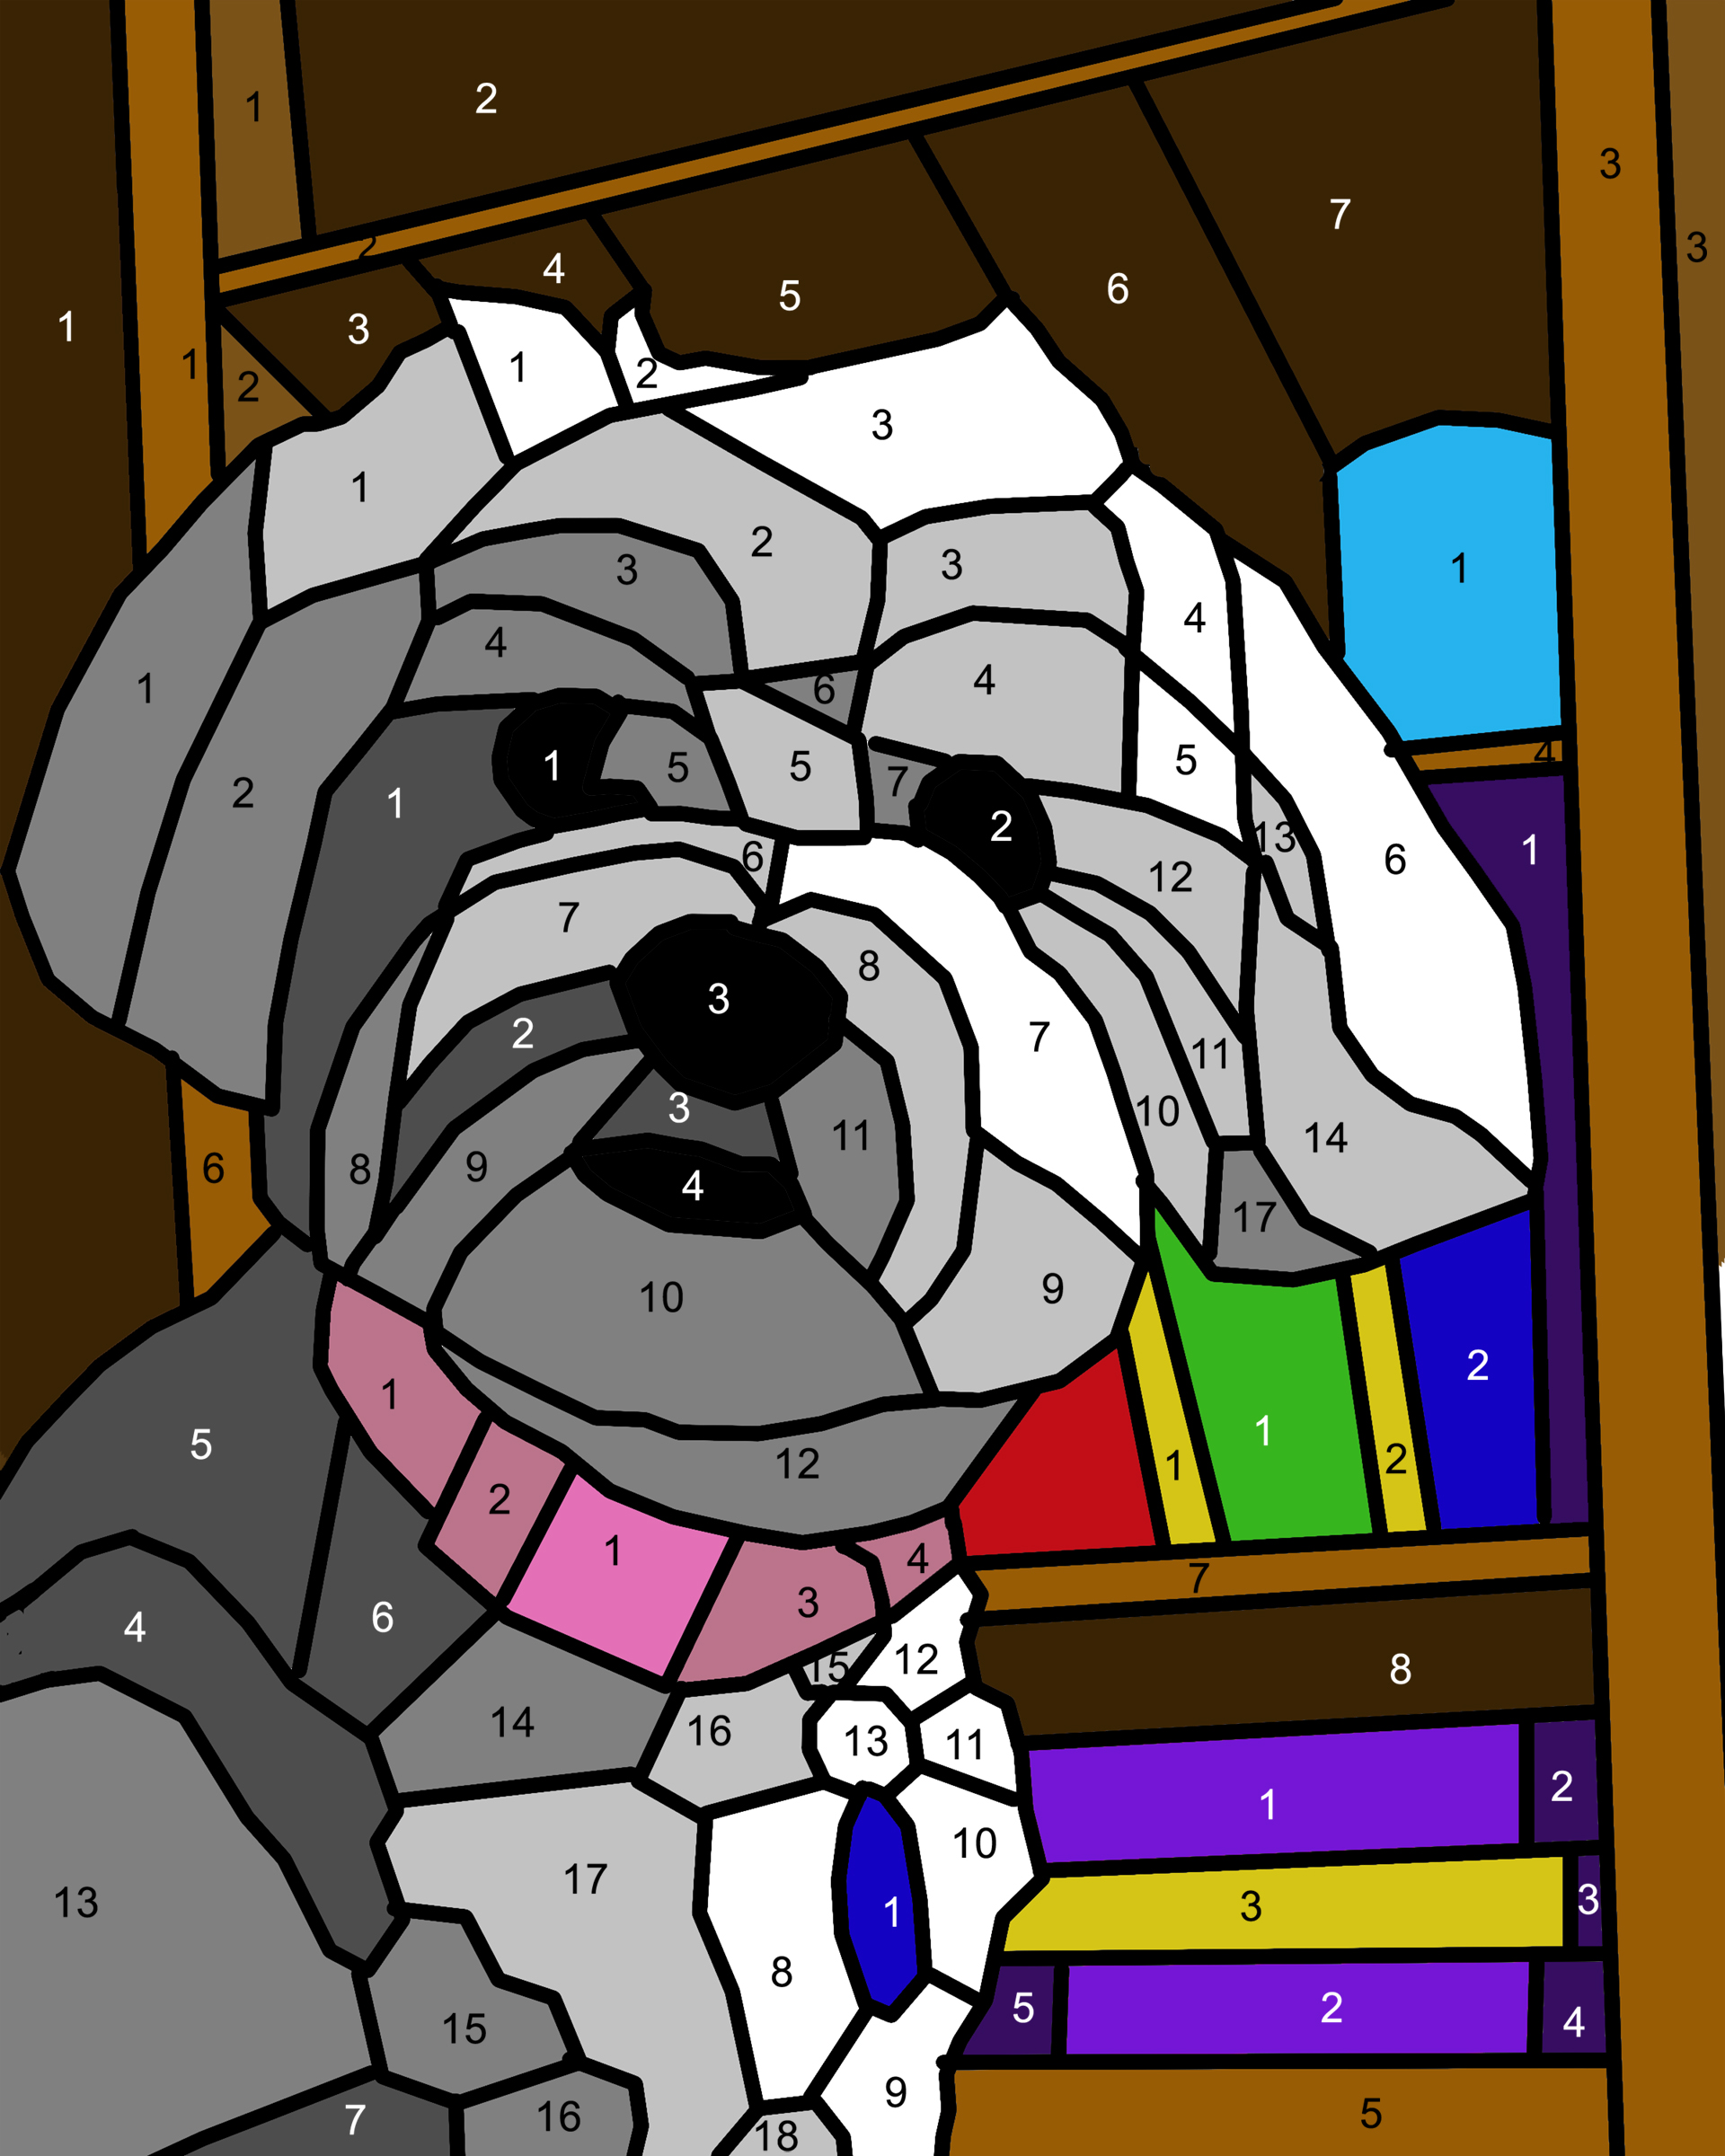
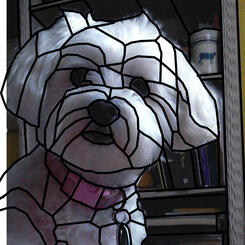
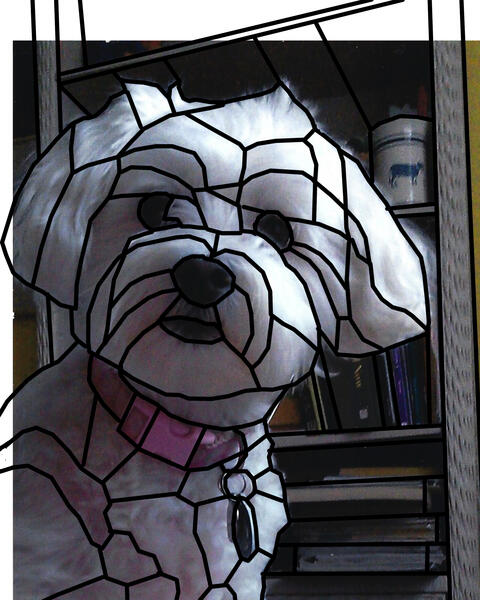
 RenderingSince the dog itself was monochrome and the only bright colors were going to be in the pink collar and blue tag, I decided to brighten some of the background elements to give the shapes a more abstract feel, and add more emotion to the image.
 -
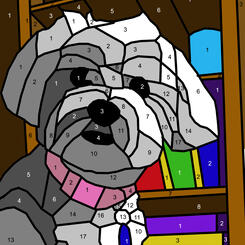
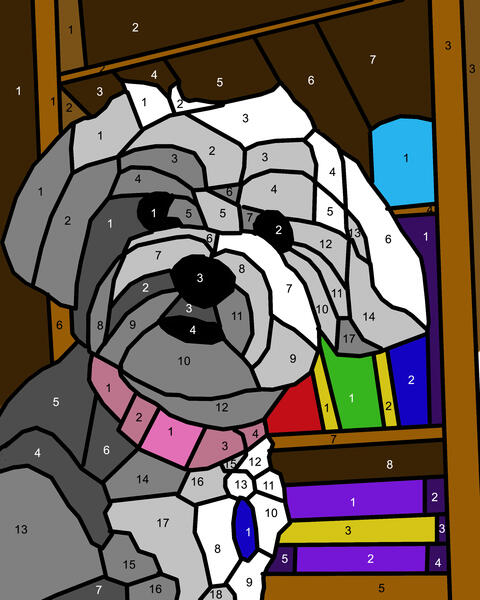 Color KeyThe colored shapes are then numbered to keep track of everything...
 -
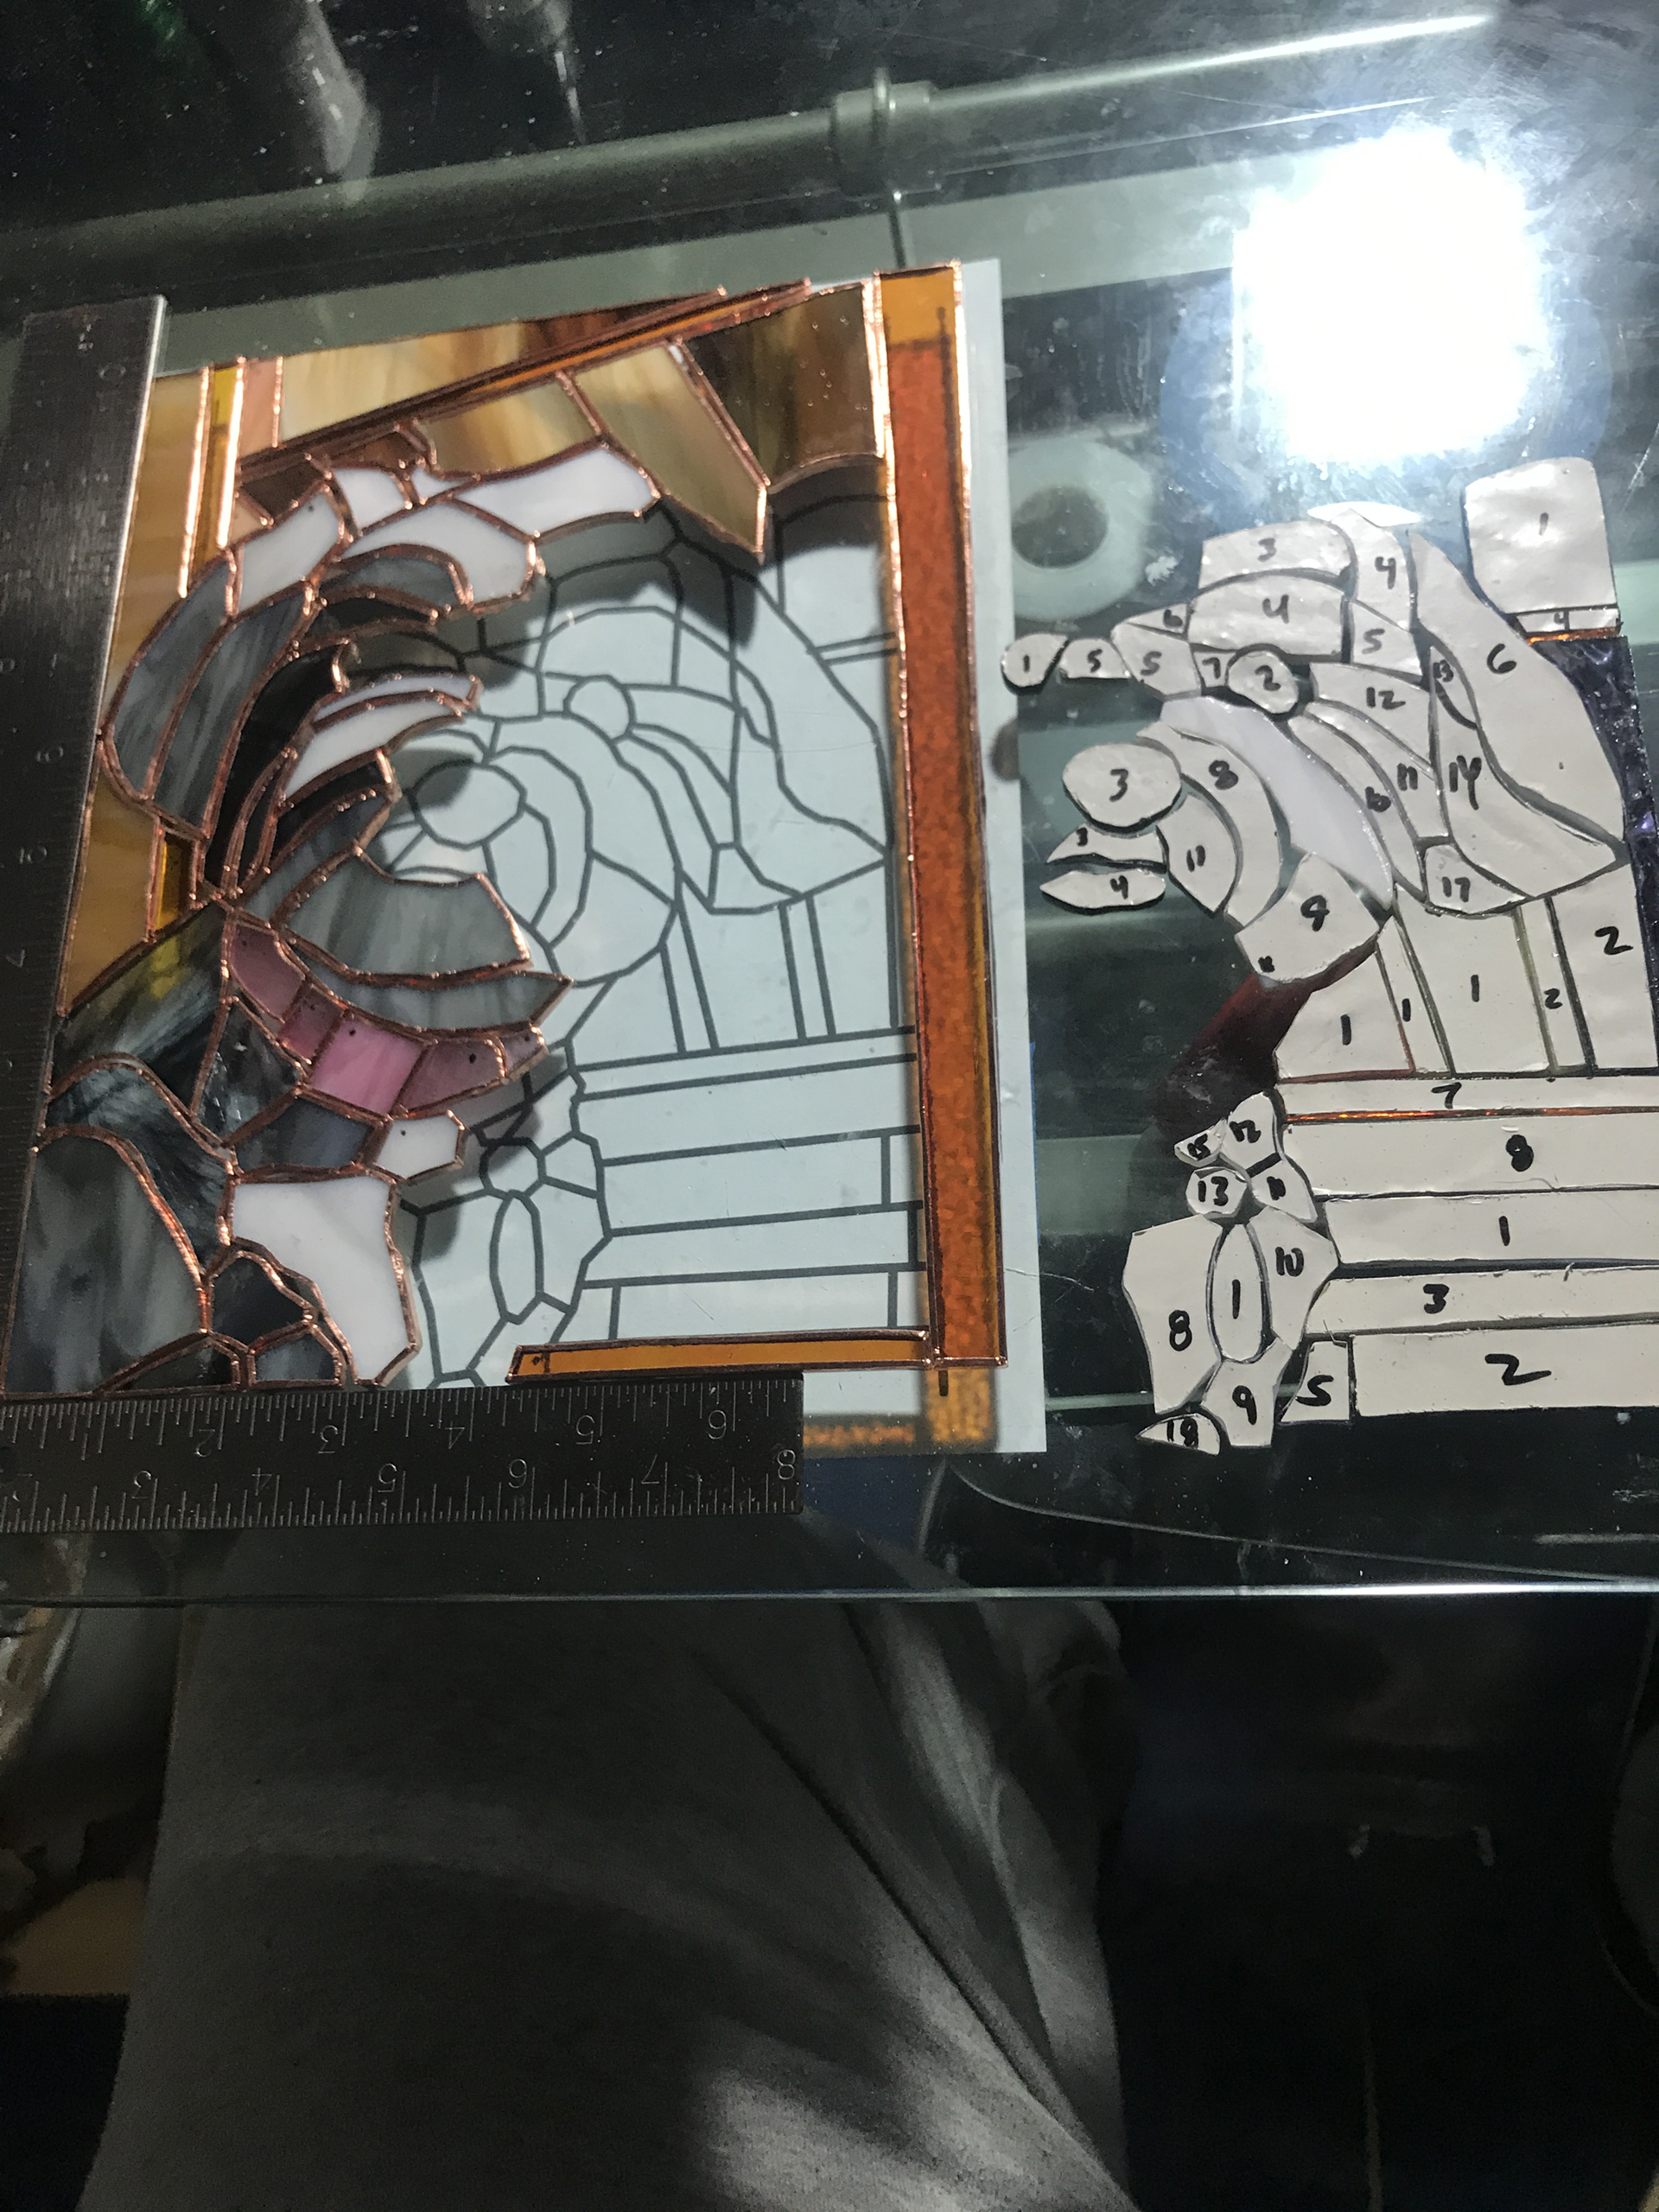
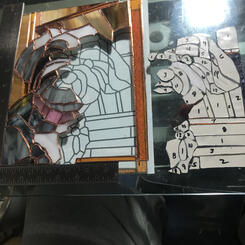
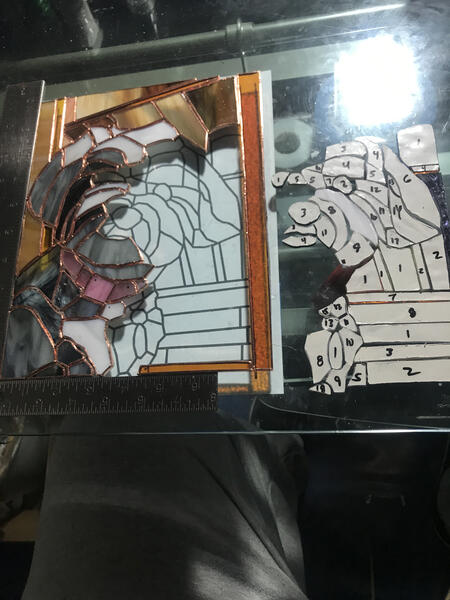 AssemblyHere you see how I use the first printed paper template as a guide to properly space all the pieces for assembly, after inserting it between the glass table top and the much thicker (1”) glass slab on top of it that I use as a work surface.
 -
 Light TableMost artists use a wooden table for using pins or nails to hold everything in place, but after having assembled various 3D pieces in previous years I prefer to know that my work surface is absolutely flat, as well as the added bonus of being able use it as a makeshift light table as I go along.